Creating agents
You can create personalized agents to support the daily operations of your business. By defining clear instructions, connecting relevant data sources, and shaping agent behavior, you can ensure agents provide accurate and useful responses.
For example, you can create a customer support agent using documentation and resources already used by your support teams. Once configured, the agent can help answer questions and assist with common issues in a consistent way.
To create a new agent:
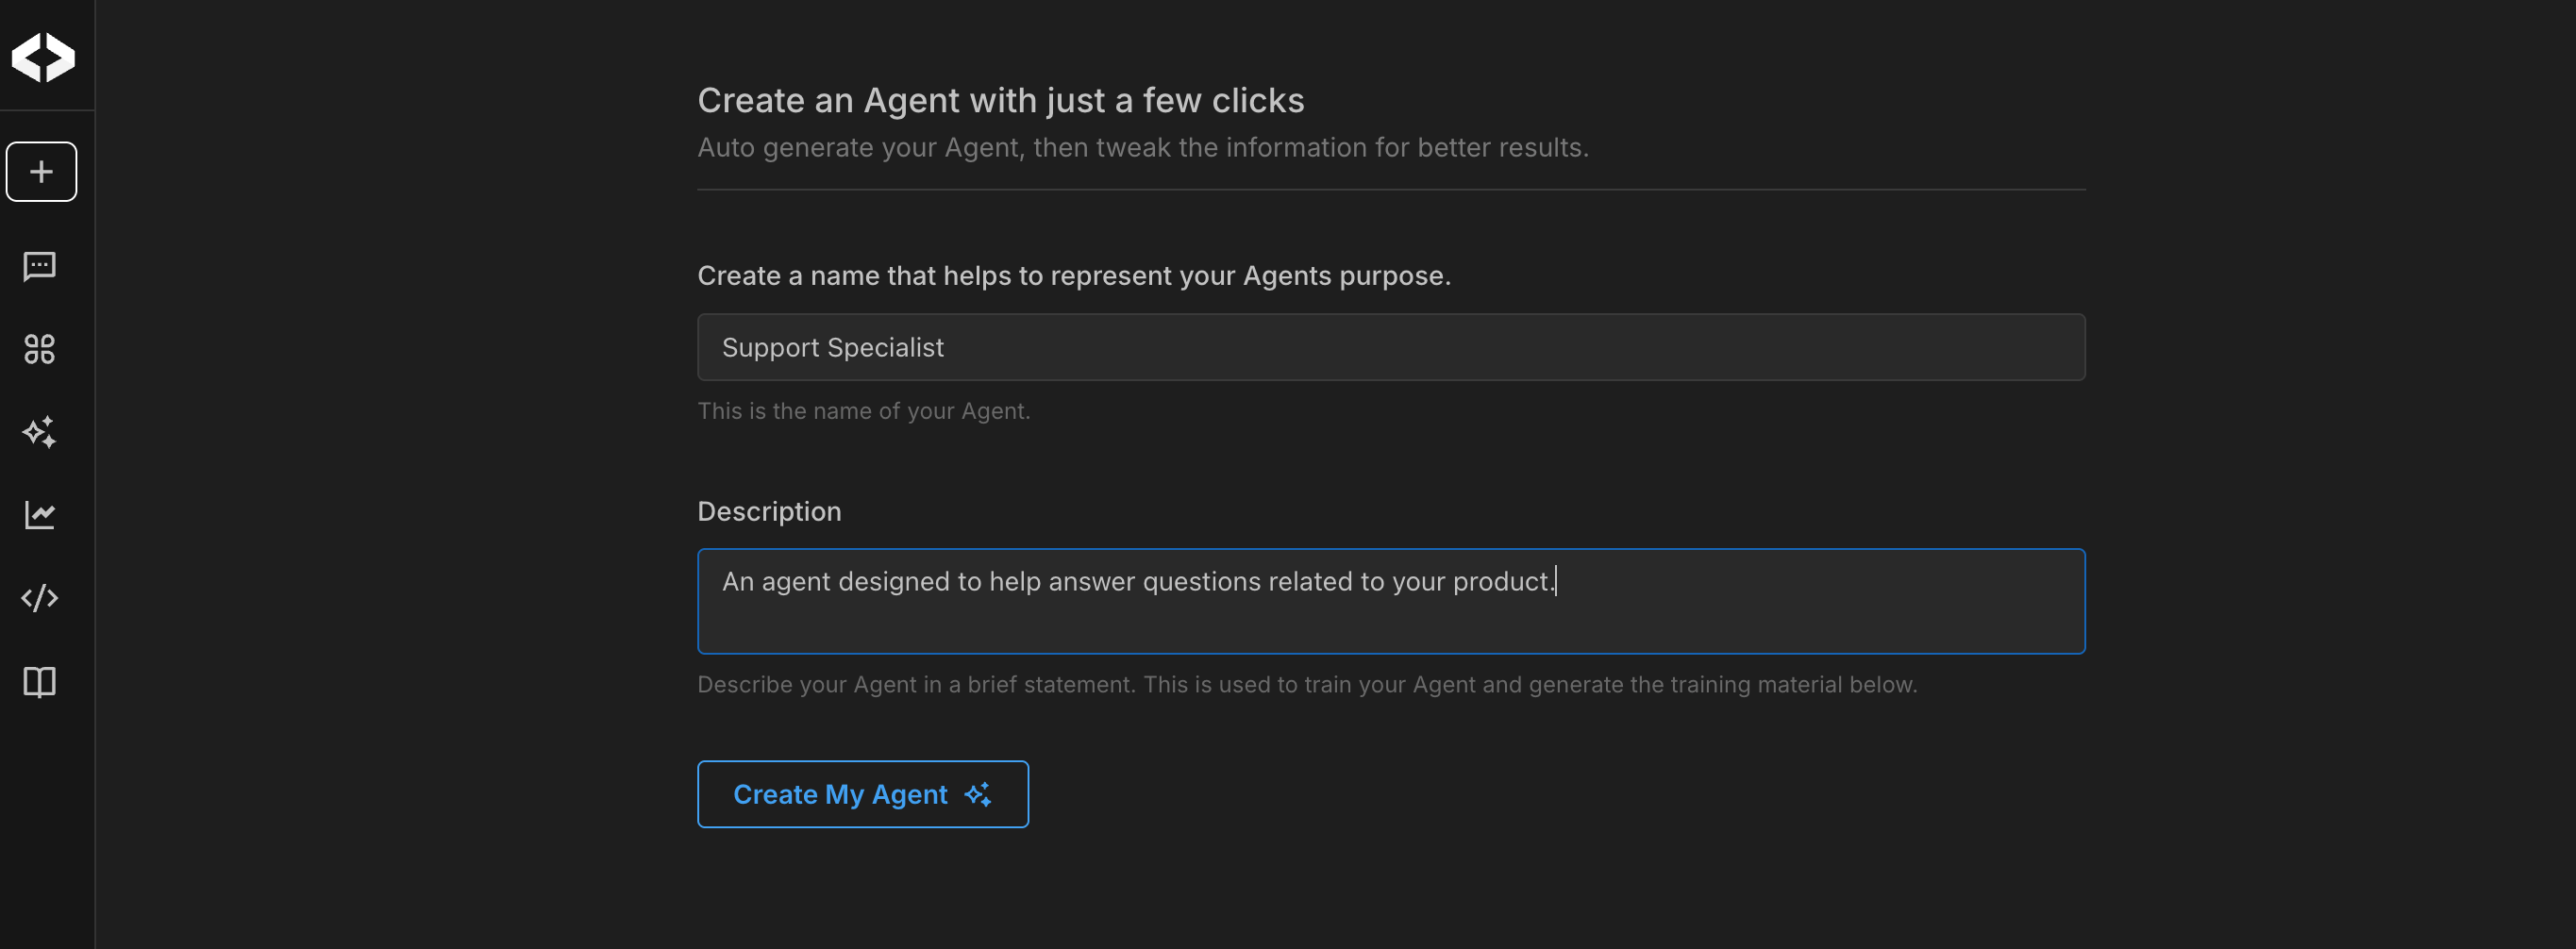
- Click +Create Agent on the sidebar.
- Enter a name and a description for the new agent. Specify some general information and instructions for your agent. The description is used to generate profile and training instructions for your agent.
- Click Create My AI to generate a profile picture and training information for your agent.
-
Set the agent introduction. Use the Introduction field to define the first message the agent dsplays to users. This sets the tone and helps users understand what the agent can do.
-
In the People who can edit this Agent field, select who is allowed to modify the agent's configuration.
-
In the Visibility field, select a visibility level for your agent:
- Restricted - only visible to you.
- My Organization - only visible to members of your organization.
- Anyone with the link - visible to anyone who has a link to the AI.
-
(Optional) Manage admin access to chat logs. Use the option to allow organization admins to view chat logs, if required. This supports auditing, troubleshoting, and usage review based on organization policies.
-
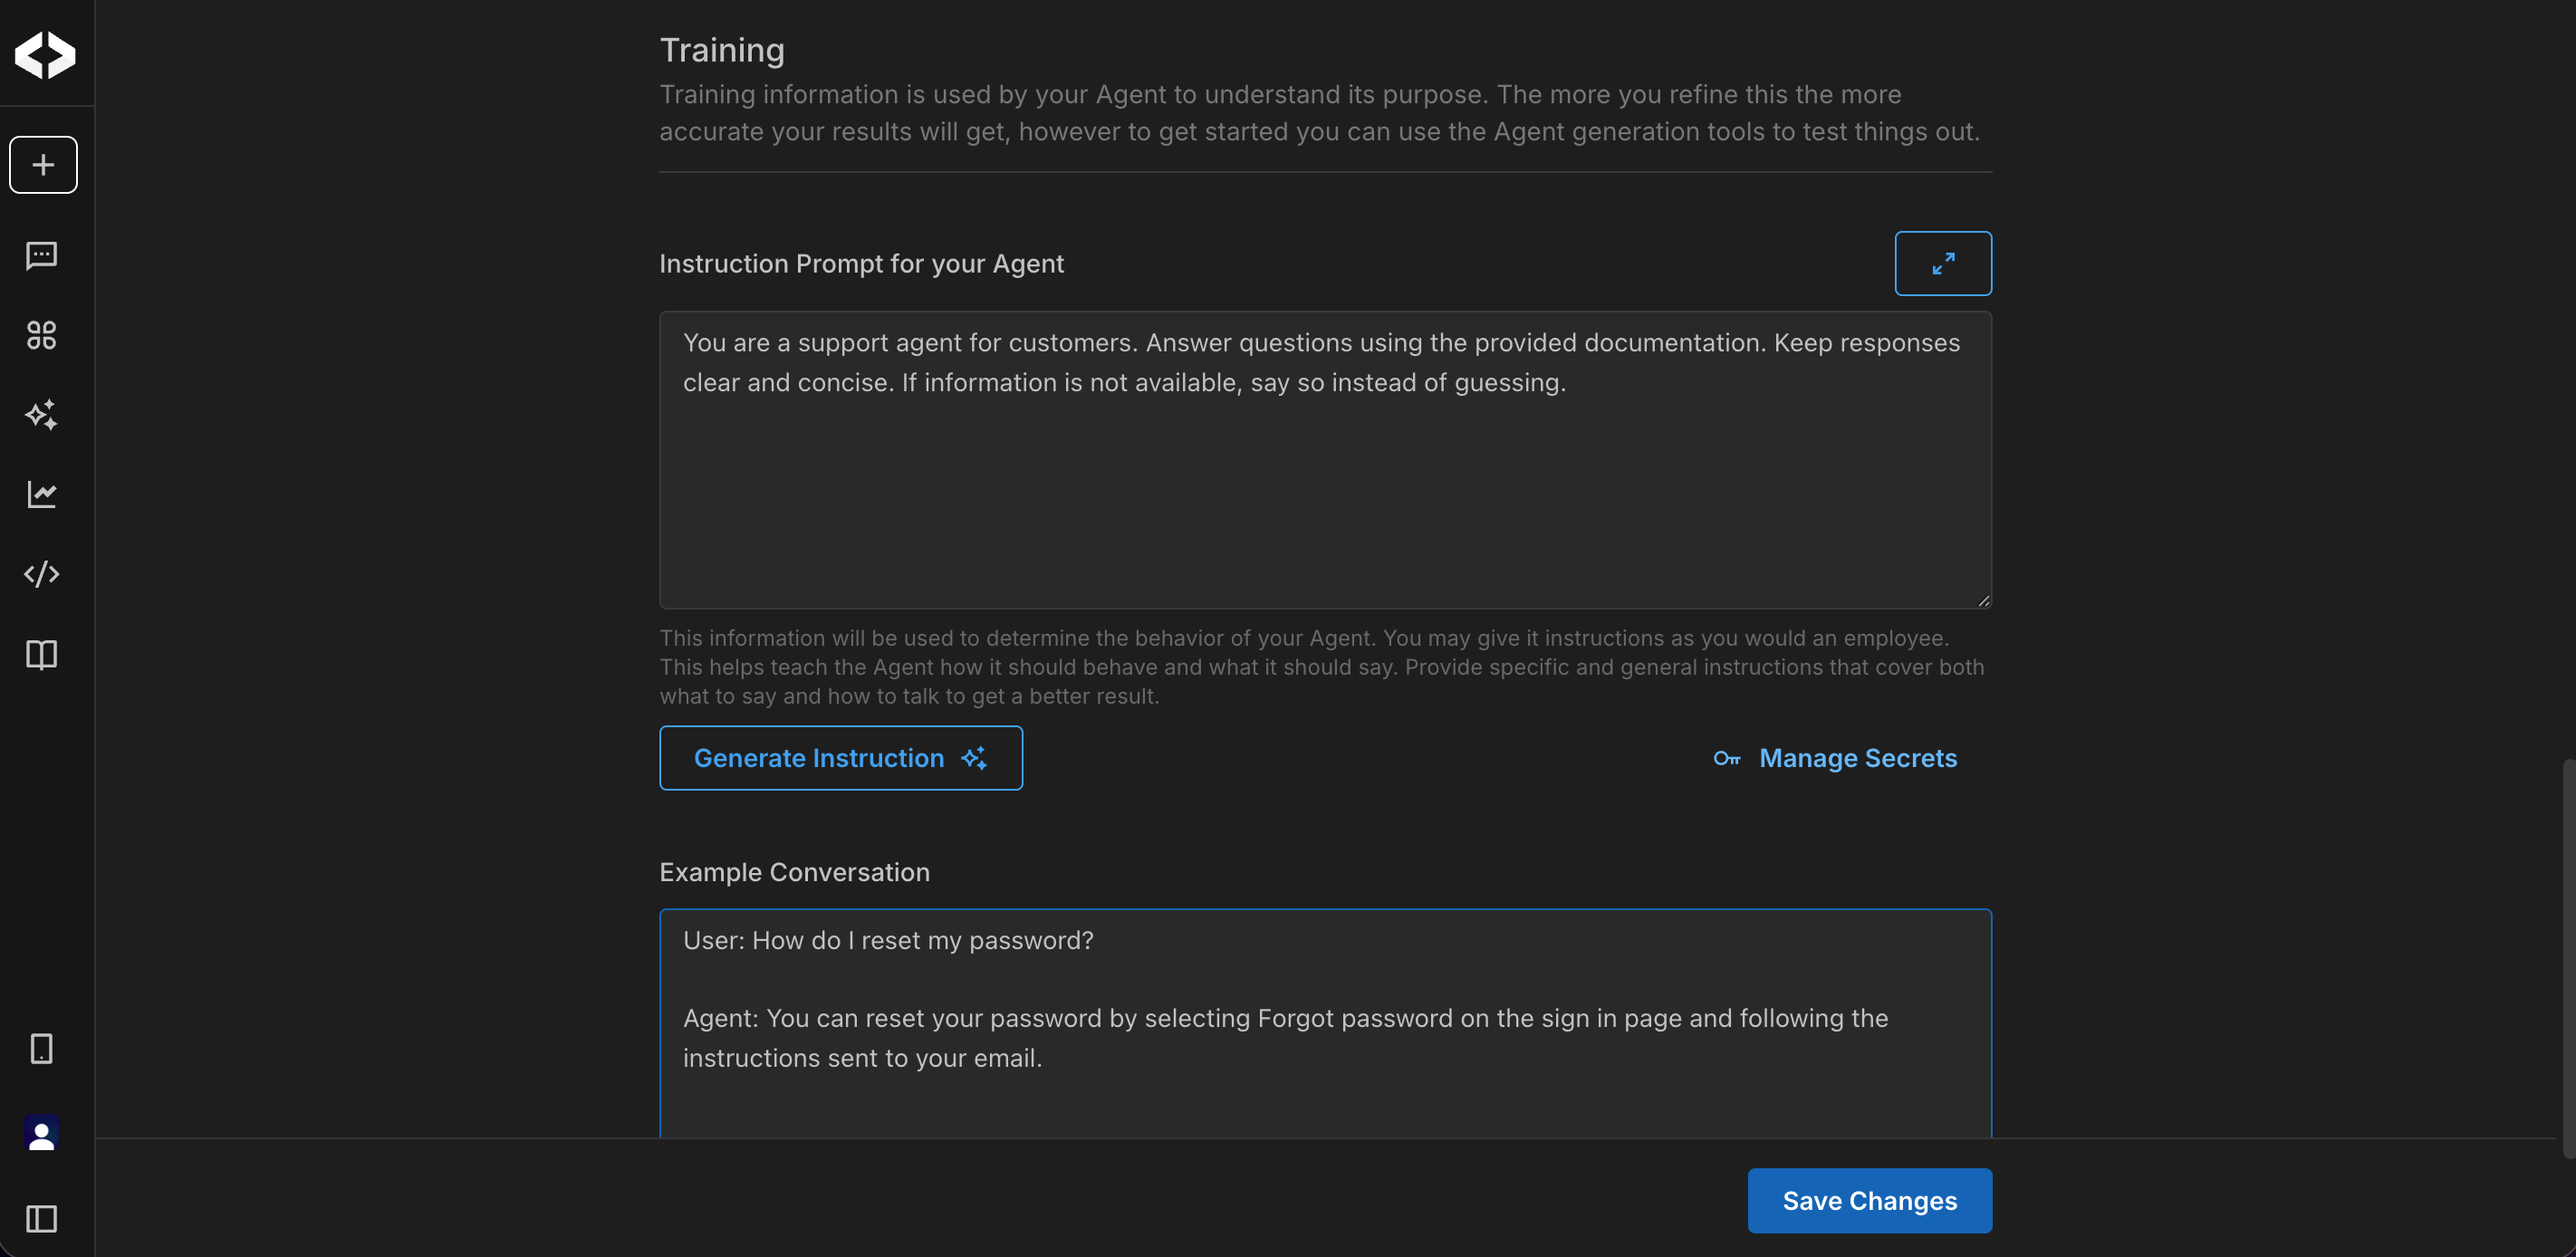
Under the Training section, define the agent's training context. Enter a description for the agent and use this information to generate training information and other instructions for your agent. The more clearly you define this, the more accurate and consistent the agent's responses will be.
-
Write an instruction prompt. Use this to define the agent's role, responsabilities, and boundaries, if any.
-
Add an example conversation. Use the Example Conversation field to show how the agent should respond in a typical interaction. This helps set expectations for tone, depth, and the format for a response.
-
Save your changes.
Once you’ve defined the agent’s profile and behavior, the next step is to choose a language model and connect the data sources the agent will use to generate responses.
Example
Here's a simple example that shows how these fields work together for a support agent.
-
Name - Customer Support Agent
-
Description - Helps answer common customer questions using approved documentation and support resources.
-
Training information - You are a support agent for customers. Answer questions using the provided documentation. Keep responses clear and concise. If information is not available, say so instead of guessing.
-
Example conversation -
User: How do I reset my password?
Agent: You can reset your password by selecting Forgot password on the sign in page and following the instructions sent to your email.